
Emails Looking Funny in Outlook? Try These 7 Tricks for Making Them More Presentable
By [email protected] (Christine Ianni)

If you experience both pain and relief when reading the title of this post, you’re in the right place.
As marketers, there’s a story that we know all too well. It starts with a meticulously planned email campaign, a carefully selected group of recipients, and a beloved email template to deliver your content exactly as you intended.
You do seemingly everything in your power to make sure every aspect of the email checks out okay, but when you send it to your boss for approval, you immediately receive a fiery response.
Unbeknownst to you, Outlook has managed to change your entire email. The HTML masterpiece that you slaved over has now been whitewashed — photos are missing, text-alignment is jumbled, and everything is 11-point Calibri.
What happened? How can you stop your other emails from following the same fate? Will anyone notice if you shed a few tears into an afternoon glass of wine at your desk?
This may be the part in the story when desperation kicks in, but don’t let it. Outlook doesn’t have to be the antagonist in our marketing stories. To help you better prepare your next email for Outlook, we’ve outlined a list of helpful tips below.
Protect Your Corkboard
Before we dive in, let’s start with an analogy …
Think of your email like a corkboard. Your corkboard has been beautifully crafted to hold all of your compelling photos (content), which are going to attract the eyes of many viewers.
How are you going to adhere those photos to your corkboard? Will you use nice stickers, embellishments, and decorative tacks (CSS & Styling) to keep all of the elements in place?
If you follow this plan, you will only realize that this corkboard won’t look the same on everyone’s wall. On Outlook’s wall, your content is stripped of its pins, tape, or sticky substances used to keep all of your pieces of content in place. You are instead left with a scattered pile of images, text with no styling, and a missed deadline. (For further clarification, Litmus has an extensive guide explaining these rendering differences.)
Alas, there is a solution to the madness. With the guidance of HubSpot’s Support Engineers, here is a list of tips and tricks to help prepare your emails for Outlook so you can “protect your corkboard.”
7 Tips & Tricks to Prepare Your Email for Outlook
1) Use tables.
For all of those familiar with code, you may have cringed as your eyes glazed over this paragraph. Hear me out: In the world of Outlook, tables are single-handedly the most important instrument in your toolbox. Using tables will ensure your email will render across email clients consistently from editor to inbox.
Outlook strips styles, such as positioning. Tables provide order and allow you to be more in control of your email’s layout. Are your pictures floating all over the place? Are they drifting above headers and below paragraphs of text? Putting your images and text in a table will tack those items in place and ensure they don’t float at their own will.
Email without table:

Email with table:

Make sure to specify the width of your table data (


 Versus this:


| Click Here |

7) Preview and test emails.
It is vital that before pushing the final send, you preview your email in other inboxes. With whatever email marketing tool you’re using, it would be best to preview your email in the clients and on the devices you know your audience is using. It’s also recommended to do a test send to your own accounts — just make sure to remove other recipients from the list first.
HubSpot Customers: From within HubSpot you can preview emails from other clients/devices and do a test send.
Ready to Hit Send?
In the world of email marketing, not everything you see is what you get. Pins get pulled loose, text falls out of place, and images can disappear altogether. However, if you take the necessary steps to protect your corkboard, you can build something that can withstand anyone’s wall.
Share this:

The DigiMarCon Difference
Business and marketing professionals have a lot of choice in events to attend.
As the Premier Digital Marketing, Media and Advertising Conference & Exhibition Series worldwide
see why DigiMarCon stands out above the rest in the marketing industry
and why delegates keep returning year after year
Global Event Series
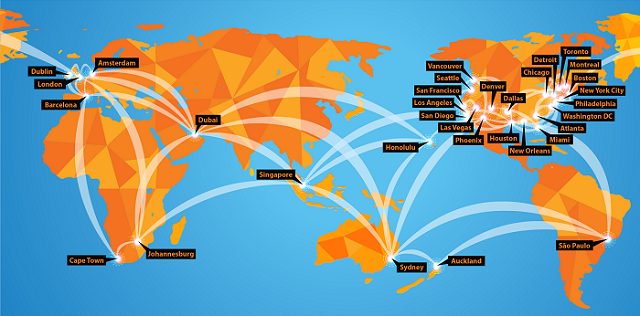
DigiMarCon is the Largest Digital Marketing, Media and Advertising Conference & Exhibition series in the world, with annual events held in all continents (North America, Latin America, Europe, UK, Asia Pacific, Middle East and Africa) in 13 countries (United States, Canada, Australia, New Zealand, United Kingdom, Ireland, Netherlands, Spain, Brazil, Singapore, India, United Arab Emirates and South Africa), across 33 cities (New York, Philadelphia, Boston, Toronto, Vancouver, Montreal, Houston, Dallas, Chicago, Los Angeles, San Francisco, Seattle, Washington DC, New Orleans, Atlanta, Detroit, Miami, Denver, San Diego, Phoenix, Las Vegas, Honolulu, London, Dublin, Amsterdam, Barcelona, Johannesburg, Cape Town, Dubai, Sydney, Auckland, Singapore and Sao Paulo). All DigiMarCon Events can be attended in-person or online. Wherever you are located there is a regional DigiMarCon event nearby you can attend.
5-Star Luxury Event Venues

DigiMarCon Conferences are held in top luxury 5-star event venues across the world such as; Royal Caribbean Cruise Ships, Olympic Stadiums, Marina Bay Sands Expo & Convention Centre and Wynn, JW Marriott, Marriott Marquis, Hyatt Regency, InterContinental, The Westin, Renaissance, Hilton, Conrad, W, Sheraton, Loews and Sofitel Hotel properties. Discount hotel room rates at each venue hotel means no hassle getting to and from the venue each day.
Extensive & Memorable Networking Experiences
Building relationships matter! At DigiMarCon Conferences we have more networking breaks on our program than others. On average there are 8 Networking breaks at each event giving delegates ample opportunities in a relaxed atmosphere to meet others over the 2-days at the event; from 1-hour round table networking luncheons to 3-hour dinner receptions. These networking breaks are set in picturesque locations to facilitate memorable experiences while fostering new relationships. Such experiences include enjoying cocktails and the Sunset over the Pacific Ocean on a private Ocean Terrace in Santa Monica, to being on the Sydney Olympic Stadium playing arena at night enjoying cocktails under the lights, to dining at the 360 Revolving Restaurant at the top of the CN Tower in Toronto for a Dinner Reception, enjoying cocktails on a private promenade overlooking Times Square in New York City, or having fun at the Dazzles Night Club onboard the Royal Caribbean Oasis of the Seas for a Farewell Party, etc.
Industry Thought Leaders from Leading Brands
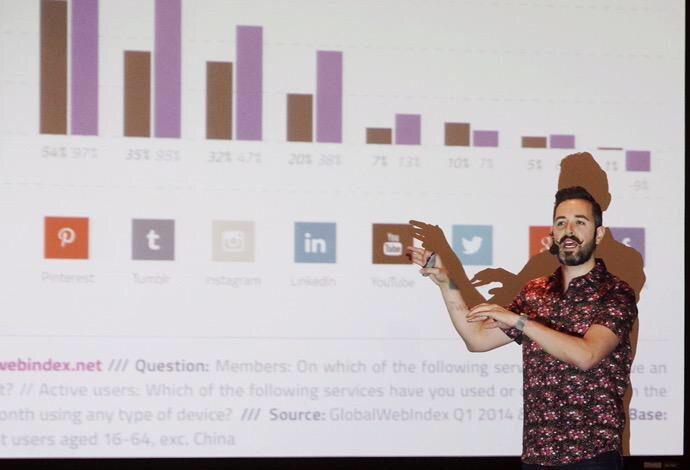
DigiMarCon Keynotes, Panels and Master Classes are facilitated by the foremost thought leaders in the industry, from celebrity social media influencers to CMO’s from the largest Fortune 500 company brands that are disrupting the digital marketing, media and advertising industry, such as Google, Facebook, Microsoft, Amazon, Oracle, Adobe, eBay, Netflix and more. All presentations are pitch-free, and include actionable takeaways, case studies, strategies and tactics, ready to be applied when back in the office.
Premium Comfortable Meeting Spaces
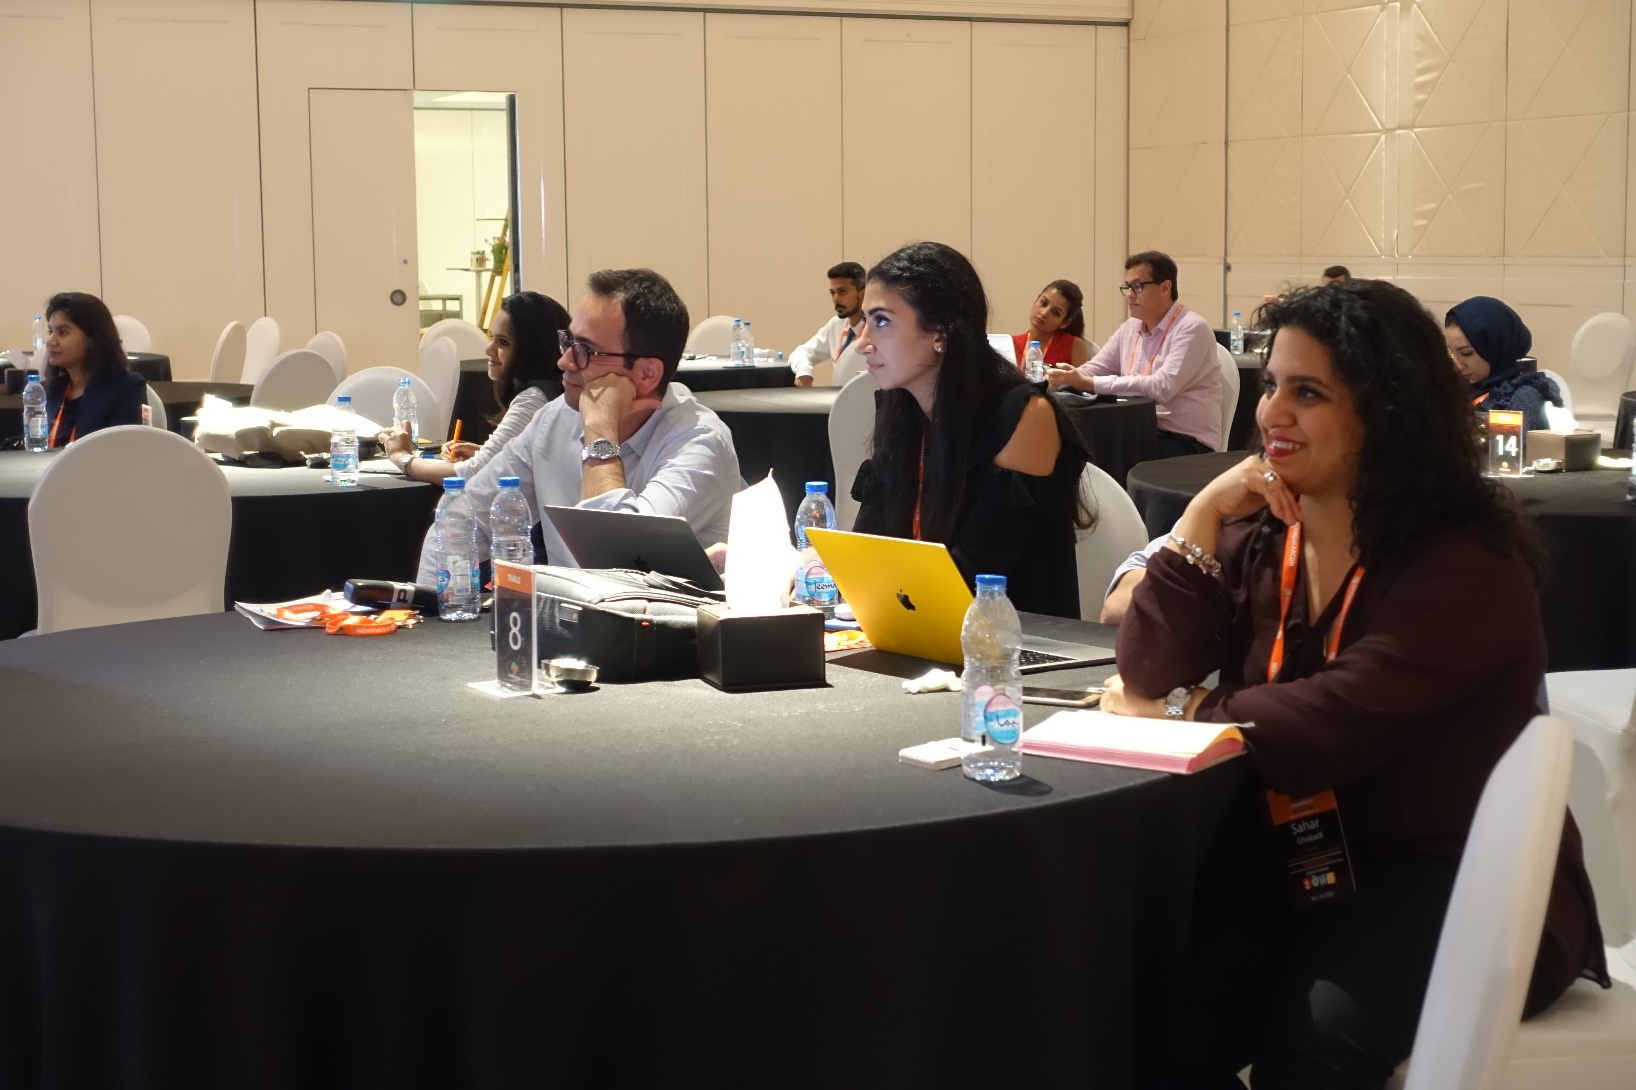
At DigiMarCon Conferences you are never ‘left in the dark’…. literally, in a large room far away from the stage and speakers, crushed in tight theater seating, without even a table, while sitting in the dark. At DigiMarCon all delegates have premium meeting space in luxurious ballroom well-lit spaces, with comfortable seating with table enabling delegates to use their laptop to take notes with ample charging facilities onsite in a comfortable space to learn and thrive. All tables are situated close with direct view of the stage.
Value for Money & Generous Discounts
DigiMarCon Conferences are affordable to attend, from single-day event passes up to two-day VIP options at a fraction of the cost of other industry events. We offer significant discounts for early bird registrations. Additionally, on top of time-limited discount pass rates, because budgets are tight, we want to make sure all groups have a chance to attend DigiMarCon. For government employees, students, academic, startups, non-profit organizations and teams, we offer generous discounts off the prevailing registration price.
Collaborative Learning & Audience Participation
Attend DigiMarCon and you become part of the show! DigiMarCon Conferences tap into the talent of the room, drawing from the knowledge and experience of the professionals in the audience. All DigiMarCon events include regular interactive question and answer sessions with speakers and the audience ideal for collaboration, audience polls, along with ice-breaker and group exercises, steered by charismatic Emcees.
Meet the Speakers in Person
DigiMarCon Conferences put you right up and close with the speakers giving you the opportunity to meet these social media influencers which you follow in person. Speakers are never hidden in private speaker rooms away from the audience, they are in the auditorium sitting right beside you and participating.
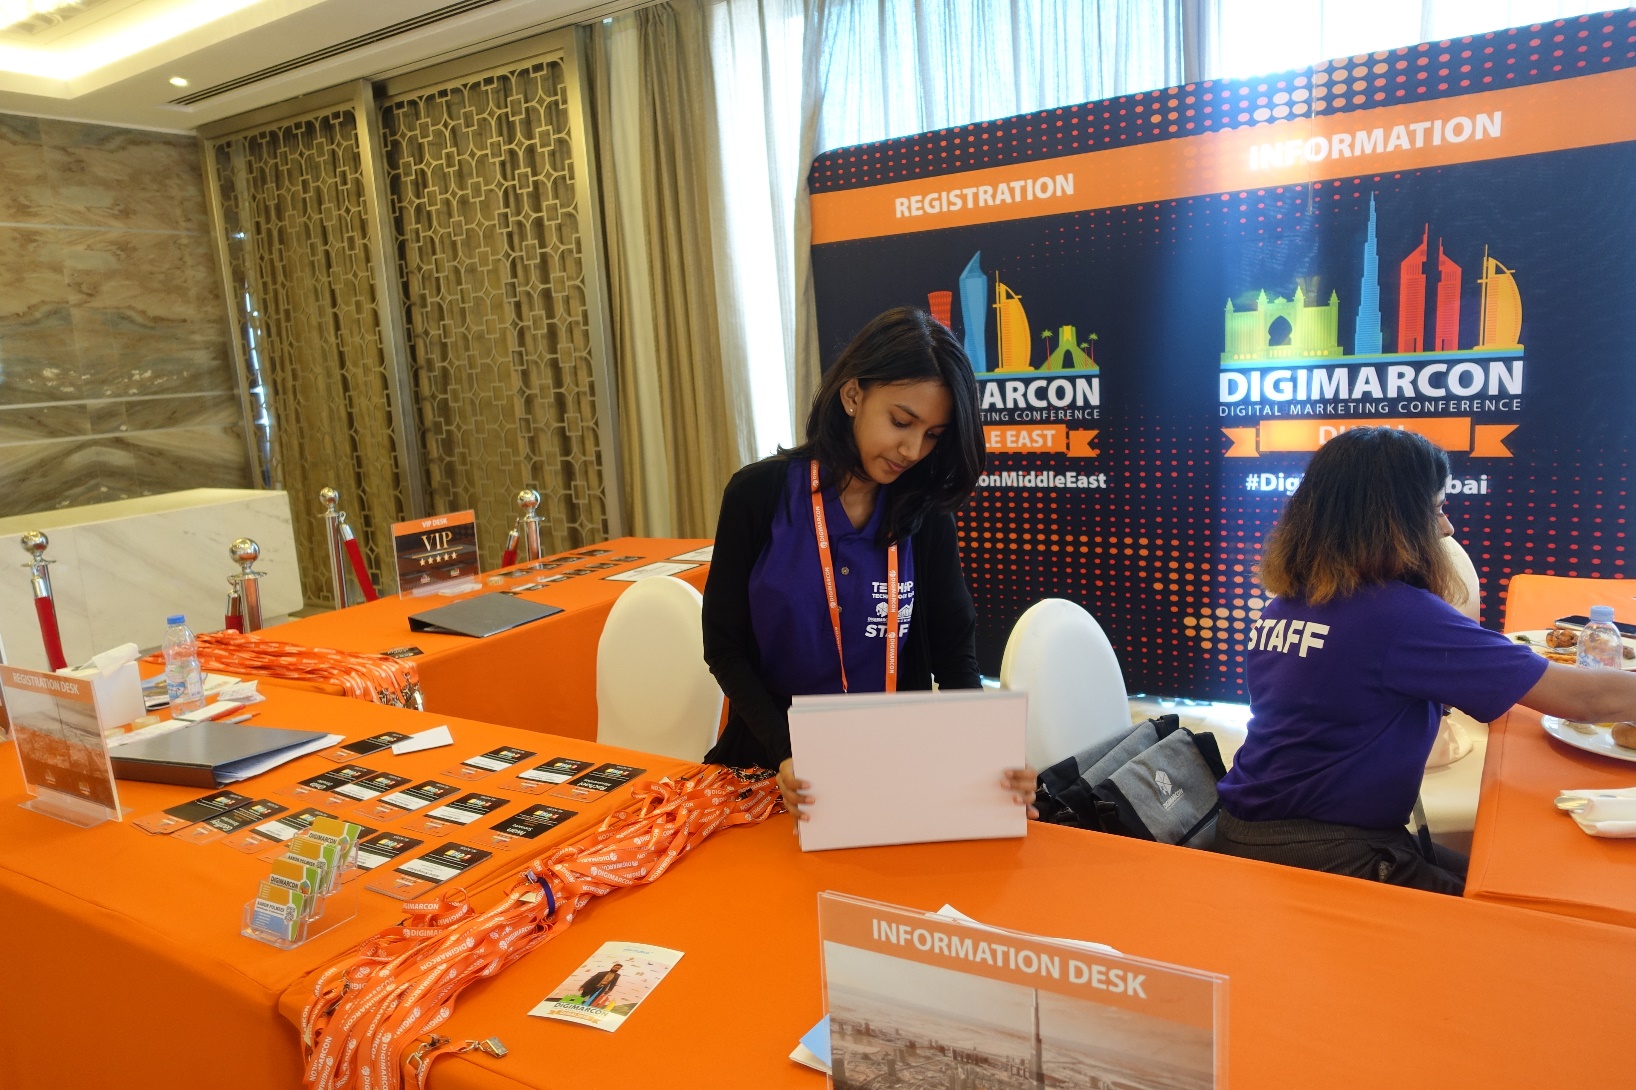
Exceptional Customer Service
Attending a conference is a well-researched decision. There are many factors to consider such as location, time, venue, cost, speakers, content, etc. At DigiMarCon our results-obsessed Customer Service team are at your service before, during and after the event to help with your needs. It’s at the core of what we do — it drives our business. Offsite, we are ready to assist you via phone, ticket or chat. Onsite at our Conferences, friendly DigiMarCon staff serve as your hosts. They welcome your input and are happy to assist you.
TECHSPO Technology Expo

At all DigiMarCon Conferences is the co-located exclusive event TECHSPO Technology Expo, which showcases the new generation of technology and innovation, including; AdTech, MarTech, Internet, Mobile and SaaS technologies. Be inspired, amazed and educated on how these evolving technologies will impact your business for the better. Unlimited Access to TECHSPO Technology Expo is included with all DigiMarCon passes.
On Demand Library Access
DigiMarCon All Access & VIP Passes include a 12-month on demand access to hundreds of hours of DigiMarCon speaker keynotes, panels and master class presentations from recent DigiMarCon Conferences, including videos, slide decks and key takeaways, available on demand so you can watch what you want, when you want.
The Largest Digital Marketing, Media & Advertising Community
Attendees of DigiMarcon Conferences gain membership to an exclusive global Digital Marketing, Media and Advertising Community of over 500,000 worldwide subscribers to our award-winning digital marketing blog and over 100,000 members to the International Association of Digital Marketing Professionals (visit https://iadmp.org). This global community comprises of innovators, senior marketers and branders, entrepreneurs, digital executives and professionals, web & mobile strategists, designers and web project managers, business leaders, business developers, agency executives and their teams and anyone else who operates in the digital community who leverage digital, mobile, and social media marketing. We provide updates to the latest whitepapers and industry reports to keep you updated on trends, innovation and best practice digital marketing.
Safe, Clean & Hygienic Event Environment

The events industry has forever changed in a world affected by COVID-19. The health and safety of our guests, staff and community is our highest priority and paramount. The team at DigiMarCon is dedicated to ensuring a great experience at our in-person events, and that includes providing a safe, clean and hygienic environment for our delegates. Some of the key areas we have implemented safe and hygienic measures include;
- Limiting Venue Capacities to allow for Social Distancing
- Health and Safety Protocols
- Safe Food and Beverages and Food-handling
- Sanitation Stations with Hand Sanitizer and Wet Wipes Dispensers
- Sanitation and Disinfection of Common and High-Traffic Areas
- Physical Distancing Measures Between Attendees
- Social Distancing Room and Seating Configurations
- Non-Contact Thermal Temperature Scanning
Hybrid Events: Attend In-Person or Online
DigiMarCon has always been industry leaders of the Hybrid Event experience for years (a hybrid event combines a "live" in-person event with a "virtual" online component), no one needs to miss out on attending our events. Each DigiMarCon Conference can be attended in-person (with a Main Conference, All Access or VIP Pass) or online (with a Virtual Pass) giving attendees a choice for the experience they want to have. Attending virtually by viewing a Live Stream or On Demand enables participation by people who might be unable to attend physically due to travel or time zone constraints or through a wish to reduce the carbon footprint of the event. If you would like to meet the speakers, network with fellow marketing professionals at refreshment breaks, luncheons and evening receptions, check out the latest Internet, Mobile, AdTech, MarTech and SaaS technologies providers exhibiting then it is highly recommended to attend DigiMarCon in-person. As the largest Digital Marketing, Media and Advertising Conference series with events in 33 international cities worldwide, across 13 countries, there is bound to be a DigiMarCon Event near you to attend in-person if you can.
High-Profile Audience From Leading Brands
DigiMarCon Conference Series is the annual gathering of the most powerful brands and senior agency executives in your region. The Sharpest Minds And The Most Influential Decision Makers - Together for Two Days.
Who Attends Our Conferences
Brands • Agencies • Solution & Service Providers • Media Owners • Publishers • Entrepreneurs • Start-Ups • Investors • Government • Corporates • Institutes of Higher Learning
UPCOMING DIGIMARCON EVENTS


No comments