Lights, Camera, Action: How to Record a Webinar Worth Replaying
A few short months ago, I discovered the beauty of webinars.
I love to learn more about the marketing industry. Every chance I get, I’m on LinkedIn searching for engaging content that teaches me something new about social media or content creation.
And my favorite way to learn is by watching a webinar.

By taking an hour out of my day, I can gain valuable insights from industry experts about virtually any topic. In most cases, I’m introduced to a new thought leader in the space, as well.
The only downside to webinars is that a lot of them are live events. Most of the time, my schedule doesn’t allow for a “One-time only” experience, so I miss out on a lot of compelling webinars.
Fortunately, there’s a simple fix around that: Recording them.
If it sounds like a lot of extra work to record a webinar, edit, and figure out where it’ll live post-launch, don’t worry. This post will show you how to do it in five easy steps.
Ready to get started and press “Record”?

Why record webinars?
Webinars are a fantastic addition to your content marketing toolkit. Though they take time to produce, they can be extremely valuable for your audience. They’re basically vocal eBooks — They present educational lessons in a fun, engaging format.
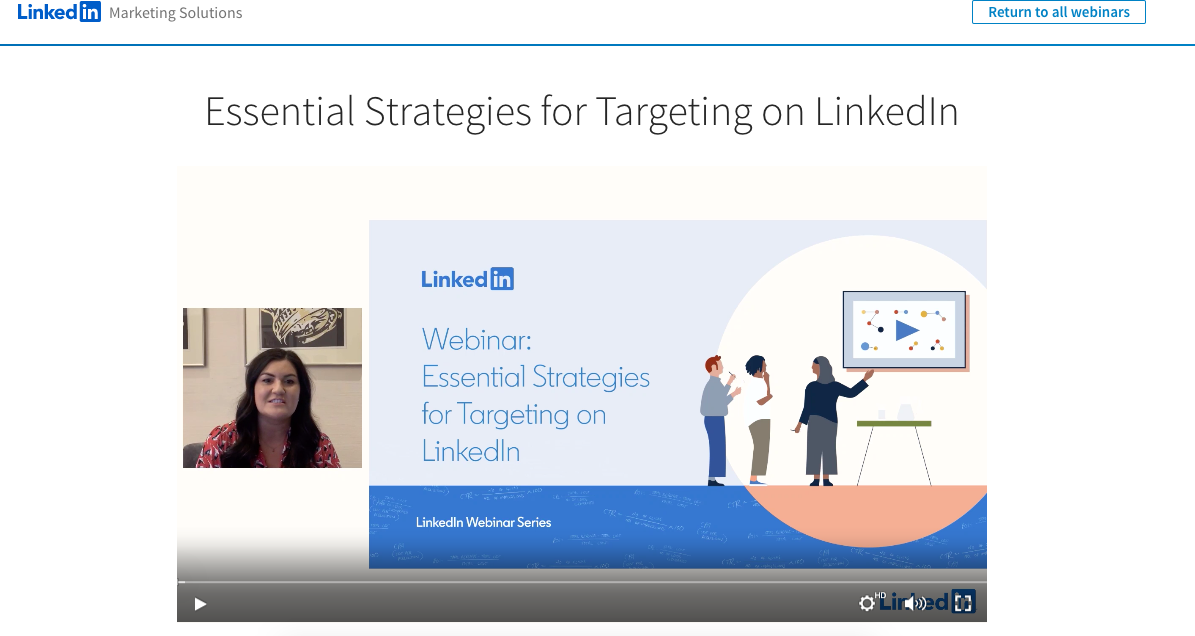
For example, this webinar is a short, insightful discussion about how to manage a remote sales team:
You might want to consider recording your webinar for a couple of reasons. First, recorded videos can be edited. If this is your first time hosting a webinar, it might be useful to host it with no audience,. so you can make small tweaks.
Recorded webinars are also useful because they are accessible. If you decide to host yours during a time your audience can’t attend, recording the webinar ensures they can still catch the information.
Regardless of whether you’re a webinar pro or a beginner, there’s some extra things to keep in mind before you hit that “Record” button. Read on to learn more about recording, exporting, and sharing a webinar.
1. Choose proper video hosting software.
After the plans to record a webinar are set, the next step is choosing a platform. A lot of platforms are similar as far as what they offer, but go with one that will let you record and export. It’s a good idea to look for one that will also record for a longer time.
Some recording tools are only built for certain operating systems, so make sure yours operates on multiple different systems. Most platforms you’ll find work on both Mac and Windows devices, but keep a watchful eye as you’re researching.
Vidyard and Zoom are good places to start. Both offer recording options and are easy to use. You can also record, export, and upload …read more
Source:: HubSpot Blog